It was my friends birthday this past Friday and I wanted to get creative with her present. I had read about DIY Mugs on Pintrest but never felt I could do them since I'm not overly crafty but I decided to just go for it! Of course I did these a few days in advance in case they didn't work and I had to get her something else.
I was pleasantly surprised how easy they were! All you need is a white mug, although I'm sure you could use a coloured mug, and a black sharpie (I read that coloured sharpies fade) and the use of an oven. Here are the steps I took:
1. Wash and dry mug.
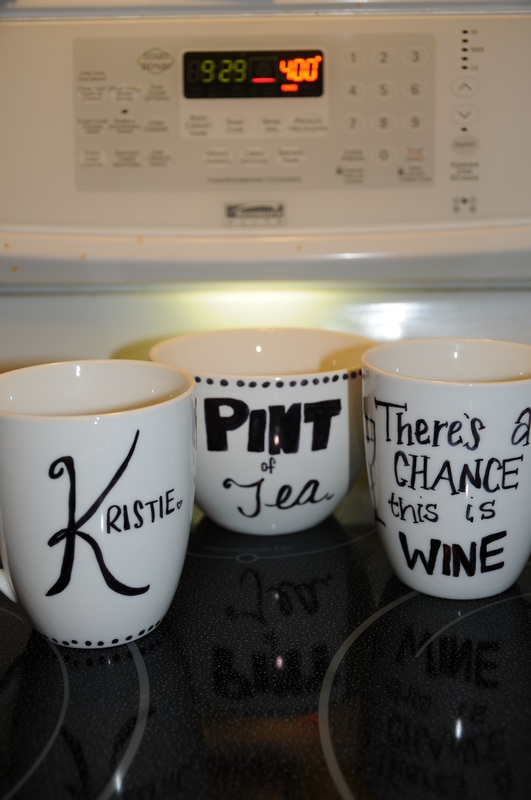
2. Draw on mug with marker.
3. Place your mug in the oven. Once mugs are in the oven turn the temperature to 400 degrees. By putting them in cold and allowing them to heat prevents any cracking.
4. Wait 30-40 minutes! After this time turn your oven off and leave your mug in. By leaving it in it allows the mug to completely cool. which prevents cracking.
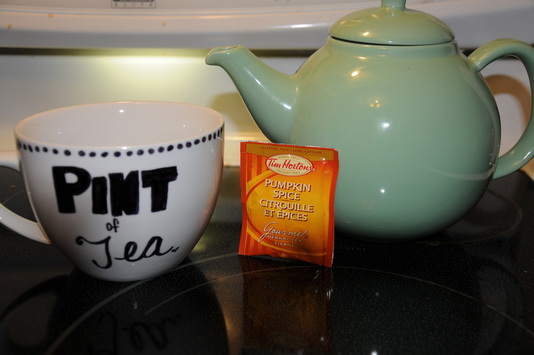
5. When COMPLETELY cooled take out of the oven and wash. If you need to do any touchups do them now, then place the mug back in the oven and follow steps 2-5 again. If you don't need touch ups then I suggest making a cup of tea and getting some use out of your mug!
This is such an easy project! I did read that there are special markers you could use that are coloured and the colour doesn't fade. I don't know what they are or where I could have found them but I'm assuming they're available at craft stores, like Micheals.
These are great for gifts because you can personalize them and they aren't overly expensive! If I can do this then anyone can!
Cheers,
Bhreagh
I was pleasantly surprised how easy they were! All you need is a white mug, although I'm sure you could use a coloured mug, and a black sharpie (I read that coloured sharpies fade) and the use of an oven. Here are the steps I took:
1. Wash and dry mug.
2. Draw on mug with marker.
3. Place your mug in the oven. Once mugs are in the oven turn the temperature to 400 degrees. By putting them in cold and allowing them to heat prevents any cracking.
4. Wait 30-40 minutes! After this time turn your oven off and leave your mug in. By leaving it in it allows the mug to completely cool. which prevents cracking.
5. When COMPLETELY cooled take out of the oven and wash. If you need to do any touchups do them now, then place the mug back in the oven and follow steps 2-5 again. If you don't need touch ups then I suggest making a cup of tea and getting some use out of your mug!
This is such an easy project! I did read that there are special markers you could use that are coloured and the colour doesn't fade. I don't know what they are or where I could have found them but I'm assuming they're available at craft stores, like Micheals.
These are great for gifts because you can personalize them and they aren't overly expensive! If I can do this then anyone can!
Cheers,
Bhreagh


 RSS Feed